Install ISON in Standard Eclipse
1. Step 1
To install the ISON plugin in a standard Eclipse the following steps have to be done:
a) The use of the ISON plugin is only officially supported on Windows. Usage on macOS or Linux works without known restrictions but doesn't fall under official support.
b) The latest version of the ISON Plugins is distributed as part of the 4.6.x Distribution.
c) Download and install Go to https://www.eclipse.org/downloads/packages/ and install "Eclipse IDE for Enterprise Java and Web Developers"
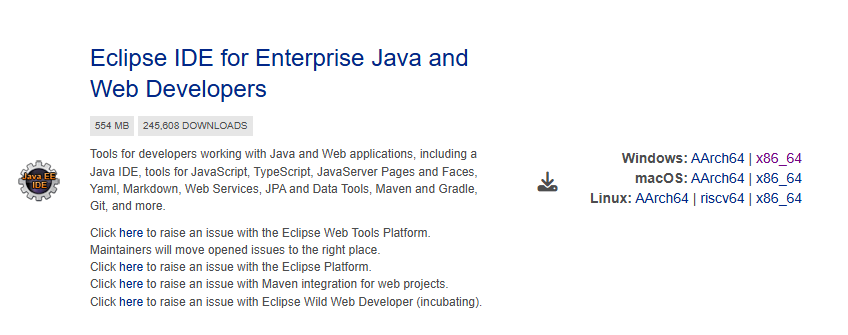
d) Download the missing plugin directly from Eclipse:
e) Copy the downloaded JAR to the dropins directory of your Eclipse installation (a directory which should be used for manually installed plugins instead of the plugins directory)
Windows:
open the folder where you have extracted Eclipse, open the subfolder eclipse\dropins
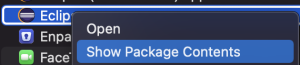
MacOS:
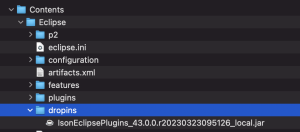
open the folder where you have copied Eclipse, right-click on Eclipse.app and select “Show package content” from the popup menu. Open the folder Contents/Eclipse/dropins
f) Open Eclipse
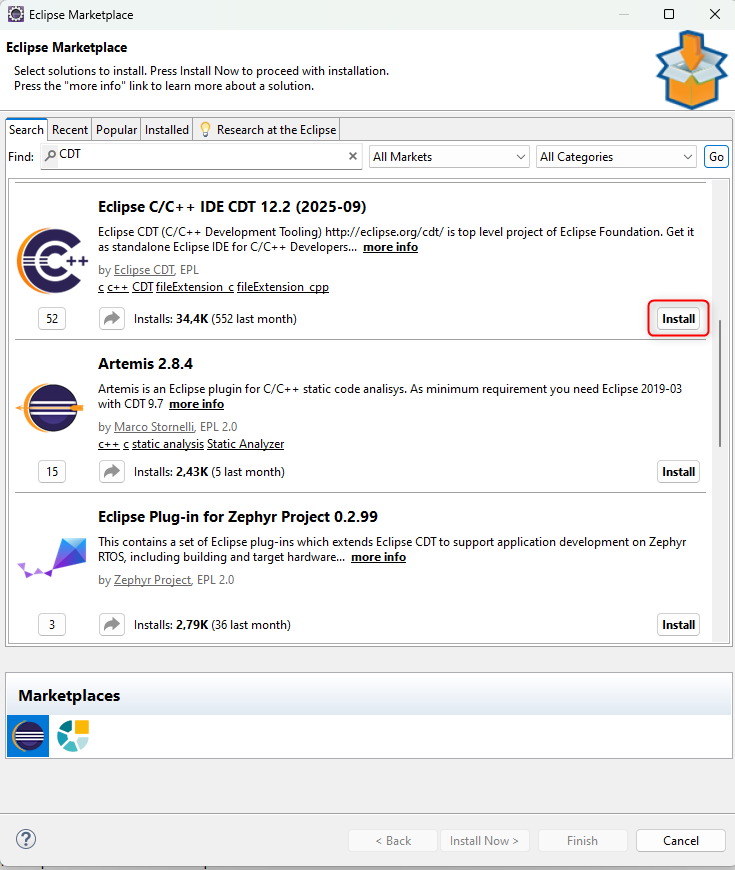
2. Step 2
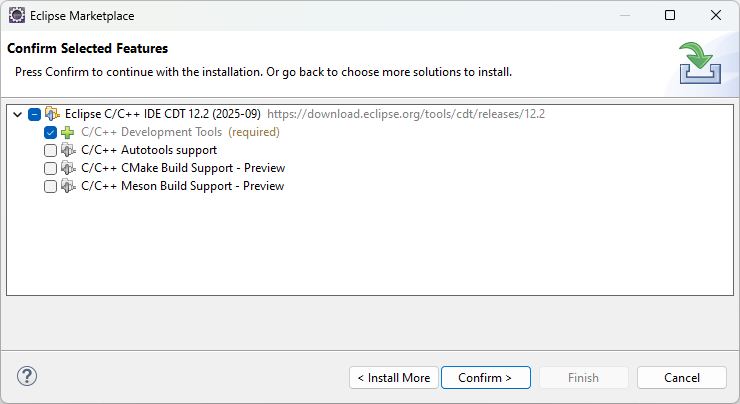
Go to: Help -> Eclipse Marketplace -> Search for "CDT" -> Click on Install -> Only Install Developer Tools (required)
3. Step 3
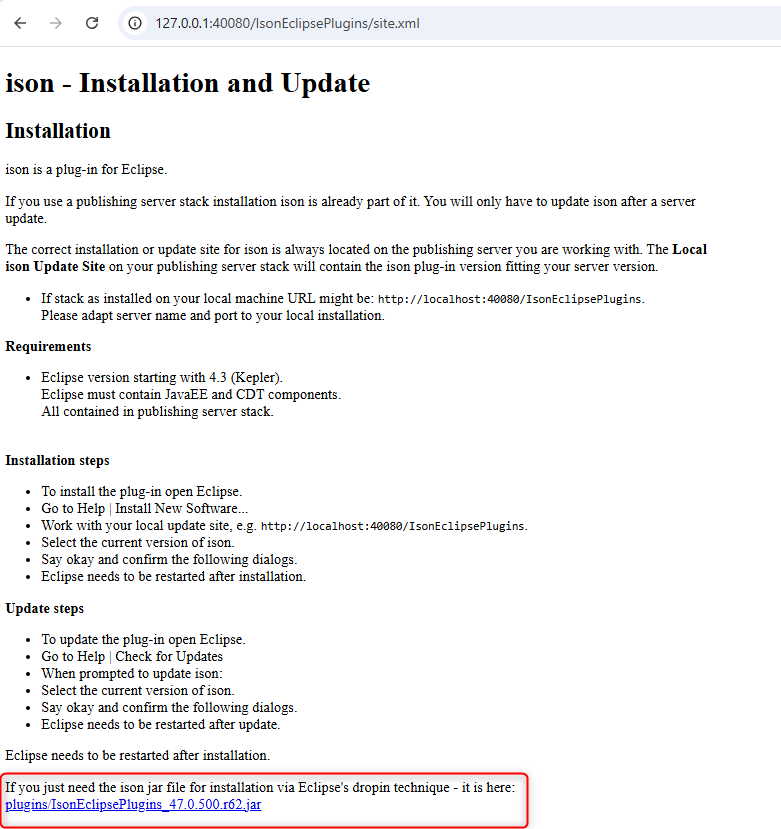
3.1. Download ISON jar file
Download ISON jar file from the PubServer ISON Information page: http://<host>:<port>/IsonEclipsePlugins/site.xml
3.2. Install ISON using the Dropins Folder
3.2.1. Windows (Recommended)
Go to the installation directory of Eclipse and place the jar file into the dropins directory.

3.2.2. macOS (Please see disclaimer above)
Open the package contents of your Eclipse installation
Place the plugin into the dropins directory
3.3. Restart Eclipse
Restart Eclipse for the changes to take effect